I consider this our first real winter in Toronto. True, we moved here in 2010, but that year, we were living in a condo building with underground parking and an indoor pathway to the subway. We were completely cushioned from all the affects of snow. Last year, well, we hardly had any snow at all. Finally, this year, we’re discovering how difficult snow removal really is on narrow residential streets.
And I love it. I grew up in the snow belt. Winter storms were common. The grey days would wear on and on in a swirl of snow. I loathed winter then, the way the cold seemed endless and the snow dangerous as it blew in visibility-reducing drifts across the road. Winter would last from the middle of November to the beginning of April. It would wear me down. But now? I didn’t realize how much I missed the snow until that first big storm hit and shrouded Toronto in a deep layer of white.
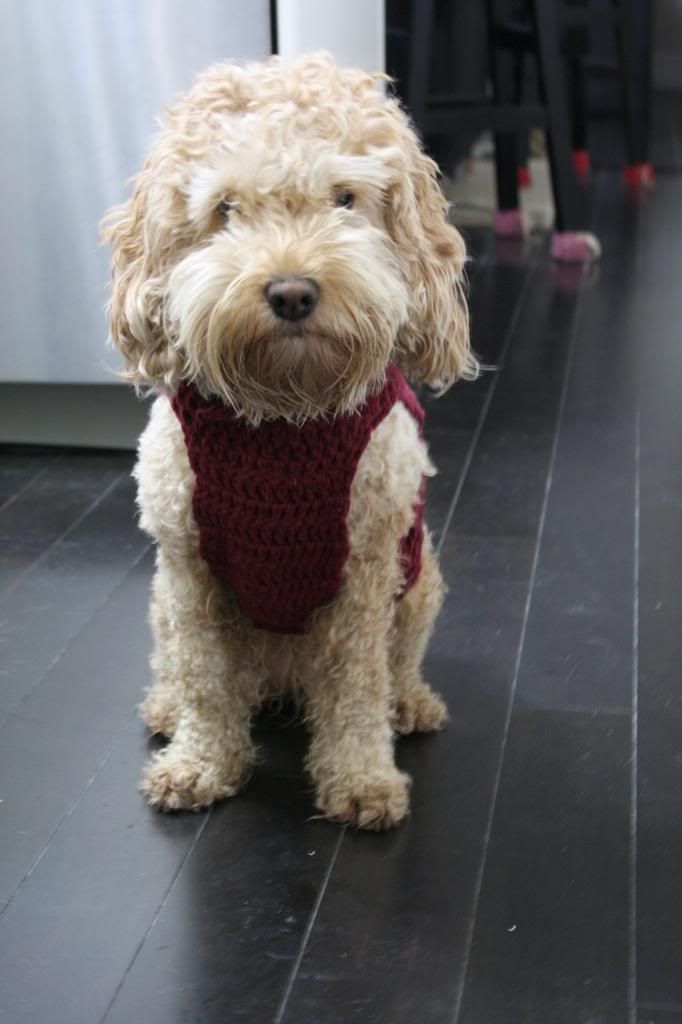
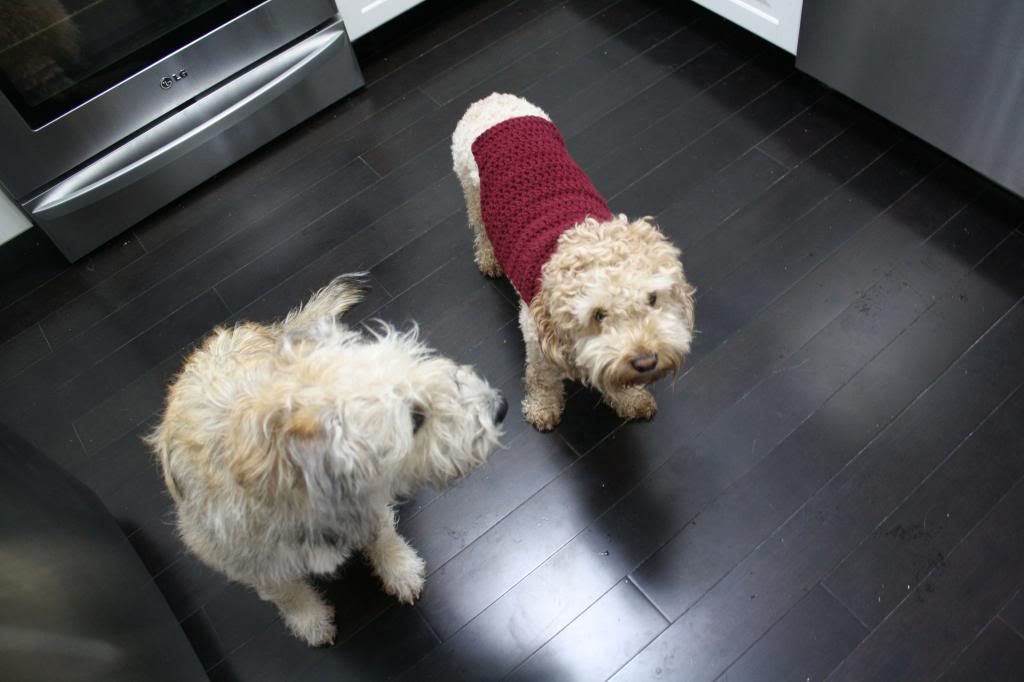
For some reason, though, when the cold descended, the Husband decided that the mats in Mocha’s fur were completely unacceptable. He took the clippers to her shortly after the first big snowfall. I took one look at her and knew I couldn’t just leave her so shorn. What does a woman with a freshly-groomed cockapoo, piles of snow and below freezing temperatures, a crochet hook, and a stash of yarn do?
Of course. She makes her puppy a sweater!
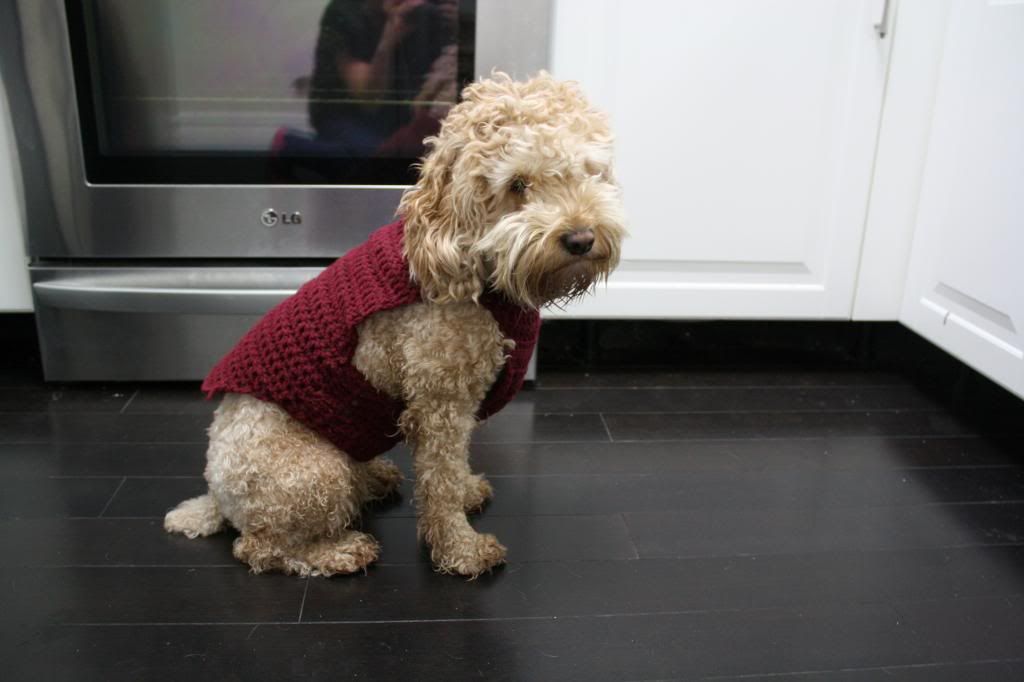
Mocha loves it, which kind of surprised me. I thought she’d be going crazy trying to get the thing off, but, in reality, she seems to understand exactly what it’s for and even gets excited when I pull it out to slip over her head. It’s a super simple pattern and took me only a night to whip up, then a second day to tweak a few spots. ‘Cause I like to share, here’s the pattern so you can make one for yourself.
Super Simple Puppy Sweater
You’ll need to measure your dog in these places:
- Around your dog’s neck
- The width of your dog’s chest, between the front legs
- From neck to back legs along the chest and stomach
- From neck to back legs or tail across the back as far back as you would like the sweater to go
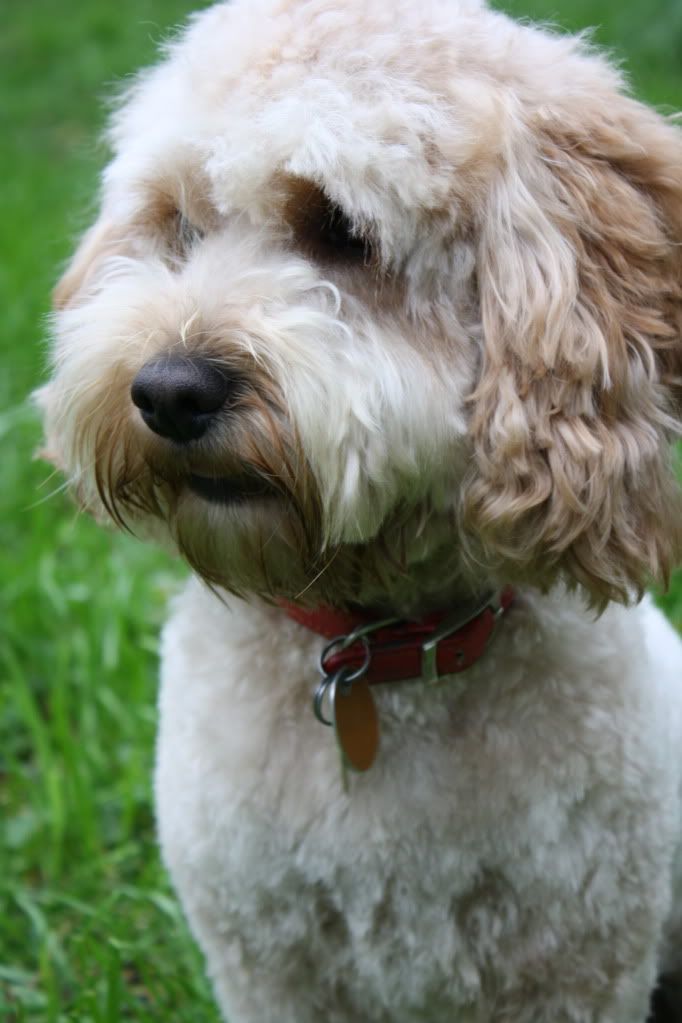
I recommend a good strong yarn, durable, and easily washable. I used Red Heart yarn, picked up at my local Walmart a few years ago. For Mocha, who is 20 adorable pounds, I used about half a ball.
Use a medium sized crochet hook. I used a size H – 5 mm.
For the neck: Chain enough stitches to stretch the line out to your dog’s neck measurement. Join the ends to make a loop. You may need to play with this a bit – you don’t want it too loose, but not too tight either.
Chain three, then skip the first stitch and double crochet in each remaining stitch to the end. Join the last double crochet to the three chain, then repeat – chain three, double crochet in all stitches, etc. etc. Repeat this until the band is as long as you would like the collar of the sweater to be.
For the chest: Chain three and double crochet in all the stitches as before until you reach the measurement of the width of your dog’s chest. Chain three, flip the sweater and double crochet back. Repeat until the flap is the measurement of the neck to back legs along the chest and stomach. Bind off.
For the back: Return to the collar. Beside the start of the chest flap, join your yarn with three chain stitches, then repeat the process of on double crochet in each stitch until the stitch before the chest flap. You may also choose to leave the leg hole wider by leaving more stitches between the two flaps. Work the back until it almost reaches the measurement of the neck to back legs/tail across the back. When you’re almost there, begin to decrease. In the first decrease row, chain three, then skip the first two stitches instead of just the first one stitch. Chain in all remaining stitches except for the second last stitch. Repeat for three to five rows. Bind off.
For the sides: This is where my pattern turns to guess-work. Starting at the edge of the chest flap, work into the side of the flap. Chain three to begin, then double crochet in the first available hole. Chain one, then double crochet two in the next available ‘hole’. Continue like that until the side of the sweater is as large as you would like it. I repeated this pattern approximately 8 times for Mocha, which means about 16 stitches. Turn the sweater and repeat the process in the opposite direction.
I did about three rows of this for Mocha and I think it’s still a touch too loose. Experiment a little for your dog. The number of rows will depend on the width of your dog and it’s a little hard to tell how far the sweater will stretch until it’s finished and your pup is wearing it. Stitch the last row to the back of the sweater using whatever method you prefer. Then, repeat for the other side, ensuring that, when you stitch this side to the back of the sweater, it lines up with the other side as perfectly as possible.
Work in the ends, flip inside out and slide on over your dogs head!
I think she looks pretty darn cute in it. In a way, I’m kind of grateful that the Husband decided to give her a haircut. After all, how else would I have gotten him to agree to let me dress up our dog?
Do you think I can get him agree to a matching one for Kingsley now too?